Showing posts with label DIY. Show all posts

The Great Wall of Bookshelves

When we first started house shopping I knew I wanted a home with bookshelves, Jason wanted a large garage for a 'Man Cave'. Unfortunately we couldn't find a home with either of those requirements. So we compromised an got a large back yard, with a promise to put built in bookshelves at a later date, and I would park my car in the driveway so we have room for a pool table, work out bench, and couch.

 As a fellow book lover my book collection is large, not quite "Beauty and the Beast'" caliber, But we all have something we aspire to. For the past three years my book it has grown &, I've stored it in our tiny hallway linen closet. Until one night about 3am the bottom shelf that held my collection of Star Wars and Star Trek novels collapsed from the weight.  The Southern Belle fit that followed afterward wasn't pretty. But as the saying goes when one door closes another one opens. This case it was the linen closet. It was time to collect on my bookshelves.

I started searching pinterest for ideas and everyone was doing the Billy Bookshelf From IKEA hack. I loved them all especially the Makeristas version of the hack. Unfortunately the nearest Ikea is 3 hours away and the bookshelves are 100 - 150 each. Your girl has a budget people and that was breaking the bank because I needed three large ones.

So I did the next best thing...Craigslist. It took over a month of searching for bookshelves. And one Friday night I got a notification of a yard sale happening the next day that had two sets of bookshelves made from reclaimed wood. As you can guess I was up the next morning and the first to arrive. At $20 a bookcase it was a total deal for me that I didn't have to haggle. Thirty minutes later two bookshelves were disassembled and loaded into my tiny Honda Civic. 

It took me about a day to finally decided where in our house we were going to put the bookshelves. We both decided that the unused dining room would be the perfect spot. We're already planning on turning it into the home office this would be perfect. Below is the original room when we first bought it. The bookshelves would be placed on the farthest wall with the vaulted ceiling. 


 Dont you just love the peach wall color? 

Unfortunately the two bookshelves wasnt enough to cover the whole back wall so we measured that a smaller bookshelf would fill in the gap. I also knew I would eventually want either a slidding ladder or lights on the builtin. With that being said we would have to seriously mount these bad boys to the wall.

Step one: Because we're keeping the baseboards intact we had to put the bookshelfs out a few inches from the wall. It required us to place wood boards along the wall in order for the built ins to fit right and rest. 


Second: We assembled the two bookcases from the yardsale and built a smaller one for in the middle. We placed all three on stands so they would still taller instead of on the floor. We also wanted to add molding all along the edges. 


Step Three: Trying to find baseboards that match the original in our home was a pain. Thankfully we were able to find some that matched but were a little to big. Jason was skilled enough to cut an inch off the bottom. We also put molding along the sides and middle of each book case. I painted them my favorite shade of white by Behr called "White Glove" seriously guys its the perfect white.


We spent a total of $150 for this project. $40 for the large bookcases. $75 for the tiny bookcase and the rest was spent on moulding. Thankfully we already had a gallon of paint left over from painting our baseboards through out the house. 

The Vanity

I was so excited to share how my grandmother vintage vanity turned out. The moment it was finished I set up a photo shoot complete with a real baby. I would like to thank my lovely sister-in-law for letting me take some shots of her little girl.

Before you scroll down to the bottom and view all the lovely finished product I would like to tell you a little about the piece and the steps I had to take to finish it.


This is a 4 piece vanity with matching stool. It has a marble top and oval mirror with a gold key medallion on the center drawer. The stain is orange though at some point im sure it was a much richer color, due to poor storage conditions and years of neglect it's faded. There's some damage to the mirror and marble top but they're so minor you can barley see them. 

This piece also has sentimental value to me. I use to play dress up in my grandmothers room when I was little and always put on my pretend make up sitting in front of this very vanity. Now some odd years later my grandmother let me have it for our new house and it's been sitting in our storage room until I could find the inspiration for the piece.

Thankfully one day I got the inspiration needed for this piece when I was searching "Awesome Mid century Furniture".....no joke. Westelms Acorn and White Mid century desk popped up. It's gorgeous and of course it was sold out. I'm very grateful it was sold out because at $600 Jason would have me evaluated. Anyways on to the step by step process for those of you who like seeing what I had to go through.


I had to sand a majority of this piece by hand due to all the little detail. if anyone has a easier way for me to do that so I don't ruin my fingers every time please let me know. I'm all for saving my fingers.

After the entire piece was sanded down which took two days. I stained it with Miniwax wood stain in Provincial. I added some paint detail along the edges. Applied a couple of coats of poly lightly sanding between each coat.


The drawers were pretty simple. I just painted the faces in White Glove by Behr. Which is still my favorite color ever! The only problem I face with this part was the large drawer at the base of the vanity. I wanted to remove the gold lock medallion and completely smooth it out. I also need to fill the holes where the previous hardware was and put a bar pull in the center. Pain in the butt!

I had to carefully pry the medallion off and puddy the hole there and where the previous two knobs where. I know there's a hack to use bar soap to fill holes and i've done that trick on a few pieces, but this is important and I wanted to put my time and money into it for sentimental reasons so I used puddy. Using a level I measured the exact center of the drawer and attached my bar pull in the center.


If you're wondering about the new hardware because they are seriously to die for, I got them at Home Depot. They were perfect for this project and I knew I had to have them the moment I saw them. I mixed the Liberity Hallow Cabinet Knob with Liberity Bronze Bar pull.


So classic right?


If you have a piece that's dearest to your heart and cant find it in you to completely tear it apart and make something else with it. A little bit of paint and some new hardware can totaly change the look while still keeping it the same.

April 2014 in a Nutshell


April was all about being creative!

For those of you that are new here or that may have missed a post, here's what we got done: 


What was your favorite project this month?


 photo Untitled_zps4c4005f4.jpg


20 Ways to Repurpose a Frame

I'm always looking for new ways to use picture frames.So of course I searched Pinterest and the internet for some brilliant idea. The both sources didn't fail in the delivery department. ENJOY!!!


1. Dried Flower Filled Frame

2. Paint Chip Calendar


3. Kid Chair


4. Frame Moulding


5. Custom Chalk Board


6. Mini Green House


7. Bow Holder


8. Memo Board


9. Jewelry Holder


10. Decorative Tray


11. Ceiling Medallion


12. Key Holder


13. Wreath


14. Pin Cushion


15. Secret Compartments


16. Memory Wreath


17. Photo Booth


18. Cork Board


19. Desert Tray

Clothespin Photo Display [SOURCE]

20. Close pin photo display


 photo Untitled_zps4c4005f4.jpg

15 Beautiful Indoor Cactus Gardens

Yesterday I showed you lovelies how to make your own cactus garden. Today I wanted to share with you the inspiration for that post. Tons of people have decorated their homes with these little guys and I found 15 of my favorite that helped me work on mine.


1. A Beautiful Mess Simple Cacti Garden

Planting a simple catci garden www.abeautifulmess.com

2.  Vanilla & Cashmere Mini Cactus Garden


3.  Brandsmart Mini Colorful Cactus Garden


4.  HGTV Indoor Desert Garden 

Cacti Grouping Resembles Desert Scene

5.  limezinniasdesign Mothers Day Cactus Garden


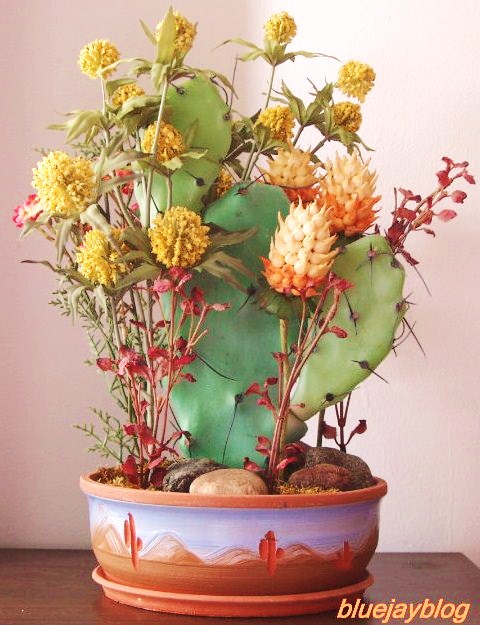
6.  Bluejayblog Using Cacti & dried floral

FF092013b

7.  Atilla's Googlie Eye Cactus Garden


8.  Martha Stewart Table Top Cactus Garden

Mini cactus garden.  Going to plant some for my balcony

9.  A Beautiful Mess Vintage Cacti Garden

Vintage planter filled with cacti + succulents


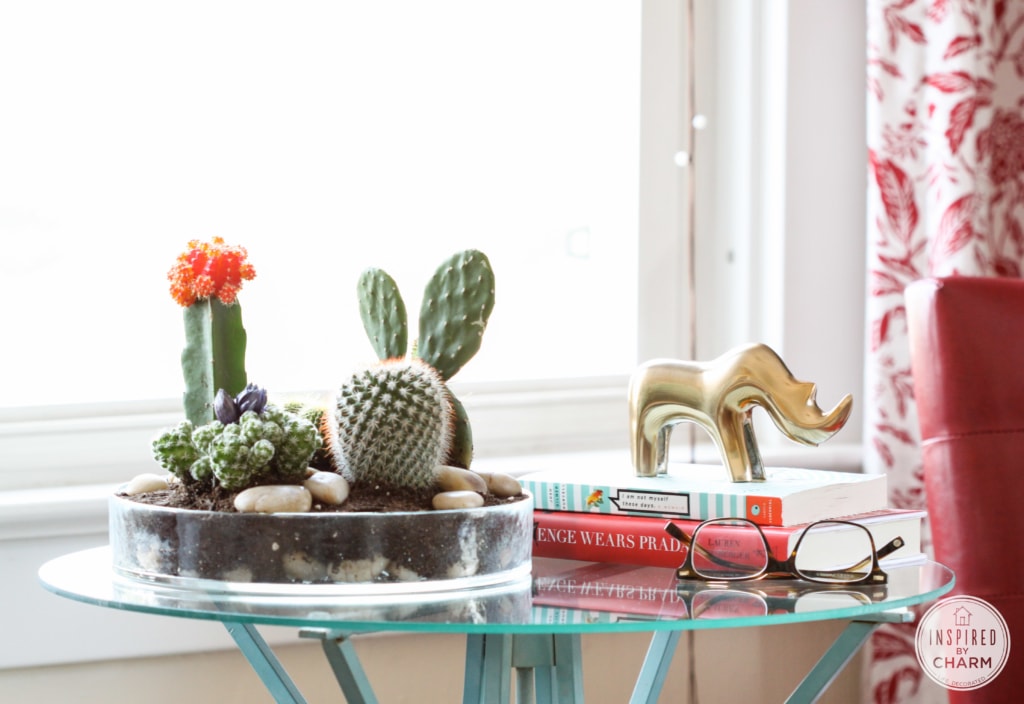
10. Inspired By Charm Table Cactus Garden

Tabletop Cactus Garden | Inspired by Charm


11. HGTV Western Cactus Garden

Cacti Container Garden with Toys


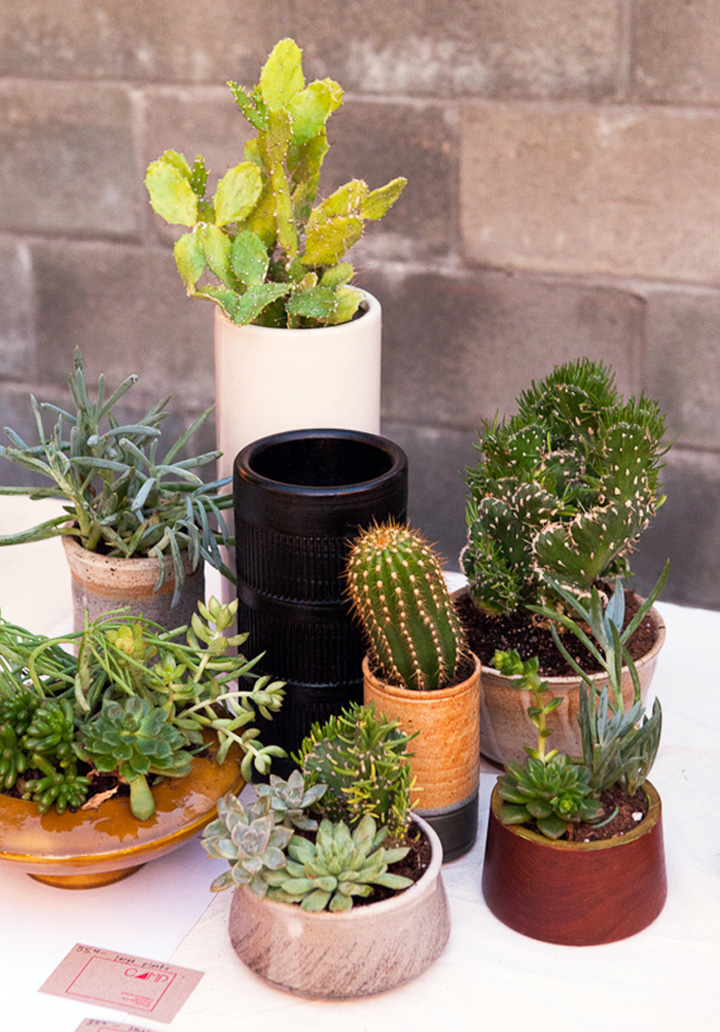
12. The Brick House Lovely Cactus Work Shop

IMG_9977


13.  Crafty Chica Margarita Cactus Garden


14. Love This Crazy Life Bright Cactus Garden

Picture


15. Annae Zimmerman Mini Cacti Gardens

IMG_1708.jpg


 photo Untitled_zps4c4005f4.jpg

Be sure to stop by tomorrow and link up any of your latest projects.